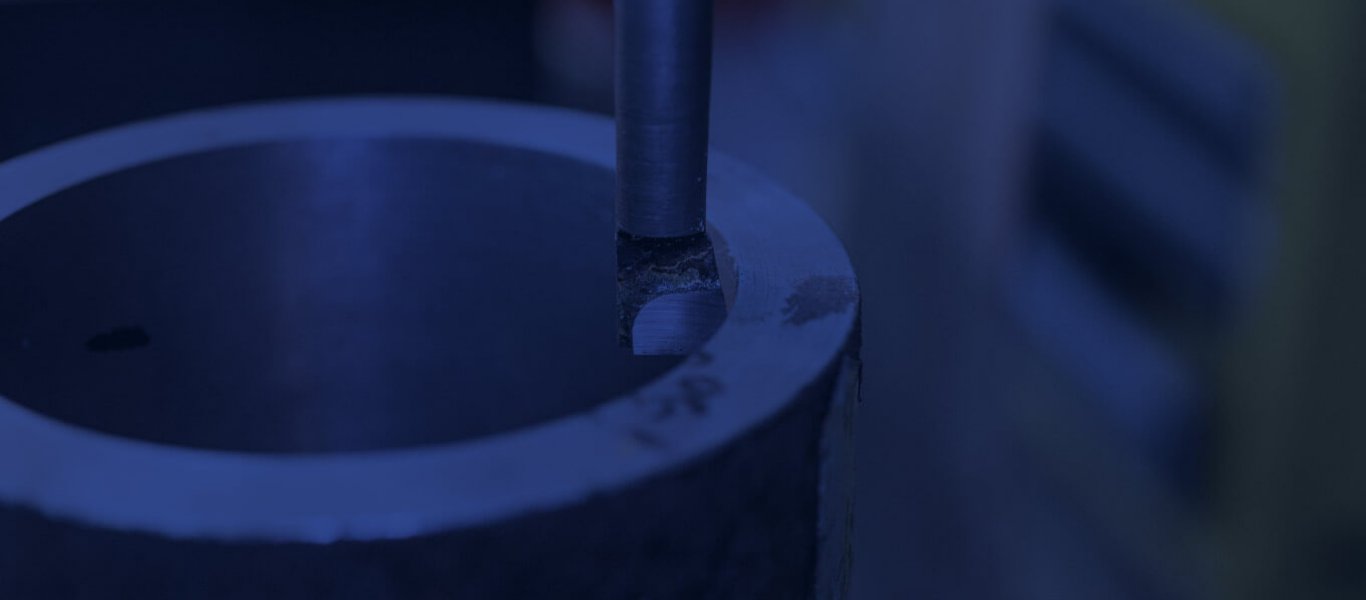
Sachs Boring Technique
Named after its inventor, Sachs developed a technique for the measurement of axisymmetric residual stresses from the analysis of strain relaxations during the incremental removal of layers of material from an axisymmetric component.
To carry out the technique strain gauges, aligned in the hoop and axial directions, are attached on the inner or outer surfaces of the component before material removal is started. Obviously the positioning of strain gauges on the inner surface of a component is only applicable to tubes or other hollow components. The material removal process is then carried out from the opposite face to that the strain gauges are on and incrementally stepped towards the strain gauged surface. For example, if the strain gauges are on the outer diameter of a cylinder, layers will be removed from the inner diameter outwards. Each increment in machining removes an axisymmetric layer from the component until no more strain relaxation is recorded. The resolution of the residual stresses measured, and hence the stress gradients, is dictated by the number of increments in material removal.

Schematic of the Sachs Boring process.
Sachs Boring is a well established technique to measure residual stresses in cylindrical components having rotational symmetry in both shape and stress distribution. However recently, the application has been extended to allow the determination of non-axisymmetric residual stress fields.
The nominal accuracy of the Sachs Boring technique is ±45MPa in steel and can be used to measure bi-axial residual stresses (i.e. hoop and axial) for component diameters only limited by the size of cutting machine. The Sachs Boring technique is a simple, yet widely unused residual stress measurement technique.

Finite Element simulation of the Sachs Boring technique (sectional view).
Procedure of the Sachs Boring Technique
The basic experimental procedure is as follows:
- Prepare (e.g. smooth and degrease) the component surface at the strain gauge locations.
- Glue the strain gauges to the component and attach the lead wires.
- Align the component to the cutting machine.
- Bore out or turn down the component in a series of increments.
- Record the new diameter and strain gauge readings for each incremental layer removed.
- Analyse the diameter and strain gauge data to calculate the residual stress distribution.

Sachs Boring results; swaged heater tube with strain gauges at 0, 90, 180 and 270 degrees.
Advantages of the Sachs Boring Technique:
- Depth of measurement only limited by the size of cutting machine used, >100mm depth is possible;
- Bi-axial residual stress distribution measured (e.g. σθθ, σzz and τθz), including stress gradients;
- Capable of accurately measuring high magnitude residual stresses within the first 5mm of depth measured;
- Applicable to a wide range of materials, both metallic and non metallic;
- Indifferent to grain structure/texture of the component material;
- Nominal accuracy: 10MPa – Aluminium, 45MPa – Steel, 15MPa – Titanium;
- Relatively quick and easy to apply the process;
- Very price competitive with respect to the depth of measurement made.
Disadvantages of the Sachs Boring Technique:
- Destructive;
- Laboratory based measurements;
- The biaxial residual stresses measured are an average over the axial length of the component;
- σrr is not measurable;
- Only applicable to axisymmetric shaped components;
- Normally applied to components containing axisymmetric stress distributions, however new analysis techniques allow for the measurement of non-axisymmetric stress distributions, although difficult to apply;
- Strain gauges used are susceptible to noise and require surface preparation;
- Inaccuracies due to stresses being relieved at depths, but strains measured at the surface.
References & Further Reading:
- G. Sachs, “Nachweic innerer spannungen in stange und rohren”, Zitschrift fur Metalkunde, vol. 19, pp. 352–357, 1927.
- A. A. Garcia-Granada, D. J. Smith, and M. J. Pavier, “A new procedure based on sachs boring for measuring non-axisymmetric residual stresses”, International J. of Mechanical Sciences, vol. 42, pp. 1027–1047, 2000.


