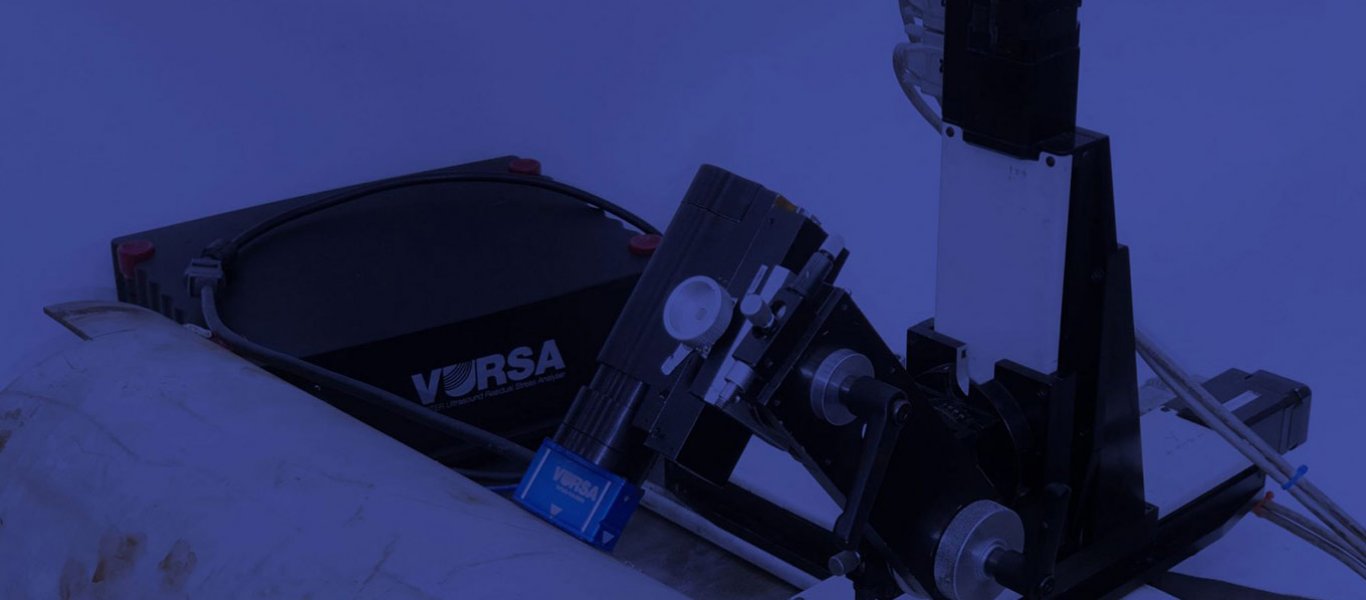
VURSA - VEQTER Ultrasound Residual Stress Analyser
The VURSA System
A non-destructive, stress measurement device for quality assurance and plant health monitoring.
- Measures applied and residual stresses
- Applicable to most engineering materials
- Surface, sub-surface and through-thickness measurements
- Fast results: 10s/point
- Easy and safe to implement
- Ultra-portable: 1 briefcase weighing < 10kg
Applications:
- “Hot-spot” identification, e.g. weld repairs, machine burn
- Incident prevention, e.g. uneven loads, stress concentrations
- Manufacturing process quality, e.g. heat-treatment, autofrettage, repairs
- Remote measurements, e.g. pipeline pigs
- Residual stress mapping, e.g. peak stress attenuation
- Static and dynamic loads, e.g. applied stress, bridge loads
- Surface treatment quality, e.g. shot-peening, hardening
- Time-lapse measurements, e.g. through life inspections

Residual stress mapping measuremnt of a 4-point, plastically bent beam using an XYZ table
Principle of Operation:
Utilising the Ultrasound technique, VURSA measures the average change in speed of ultrasound waves propagating through a material in response to fluctuations in stress, i.e. the acousto-elastic effect. The average change in speed is calculated from measuring the time-of-flight of the ultrasound wave between the transmitting and receiving probes. Wave speed and stress are inversely dependent, i.e. increasingly tensile stresses create decreasing wave speeds. The changes in speed are converted into absolute stress values using material specific acousto-elastic coefficients and reference stress measurements.
Depending on the stress direction and depth to be measured, Longitudinal, Transverse and/or Rayleigh ultrasound waves can be used. The depth of measurement can also be varied using a range of ultrasound wave frequencies, with the higher frequencies (e.g. 10MHz) providing measurements nearer to the surface.

2D map of the axial residual stresses across the dissimilar metal weld of a nuclear industry nozzle

"Hot-spot" scanning along the weld region of a submarine T-section joint
VURSA Specifications:
The key elements of the VURSA system are:
- Electronics control box
- Probe head and applicator
- Laptop with pre-installed software
- Travel case
Optional extras can then be added to the system to address specific needs, e.g.:
- Alternative material probe heads
- Shaped probe heads to match your component geometry
- Multiple frequency probe heads for depth profiling
- Alternative wave probe heads for targeting specific depths, gauge volumes and stress directions
- Probe head arrays
- XYZ table or robotic arm for stress mapping
- Waterproofing
- Software adaptions, e.g. “Go / No Go” display
Working with you, we'll create the optimum system, calibrated against your real parts to provide the best results possible.
Also, to ensure you gain continued, meaningful and useful results, our working relationship won’t end with the supply of a system, we’ll be on-hand through our service packs for technical support, consultation, repair and maintenance, calibration, validation, updates and further training.
For more information and prices please email us at experts@veqter.co.uk

Example probe head designs: Flat surface, biaxial stress, outer diameter surface and inner diameter surface
References:
- Ficquet X., Romac R., Cave D. and Kingston E., “Calibration Of The Ultrasonic Technique Using The Deep Hole Drilling, Neutron Diffraction And Contour Residual Stress Measurement On A Ring Stiffened Cylindrical Structure”, OMAE, 2016.
- Romac R., Cave D., McIntyre D. and Ficquet X.,"Characterisation Of The Effect Of Corrosion On The Residual Stresses In Girth Weld Pipe Using Ultrasonic Calibrated With Strain-Relieving Measurement Techniques”, ICRS, 2016.
- Ficquet X., Kingston E. and Sloan G., “Ultrasonic Residual Stresses Measurement In T-Butt Weldments From Submerged Arc Welding Of High Strength Thick Section Steel Members”, ECRS, 2018.
- Ficquet X., Kingston E. and Cave D., “Structural Health Monitoring On A Girth Welded Pipe With Residual Stress Measurements”, ISOPE, 2019.


